1. GEOExplorerIQ Overview
This document shows different sections/components within GEOExplorerIQ

2. User / Admin can select different sites/project from the drop-down list. Some organization may have multiple projects or sites.
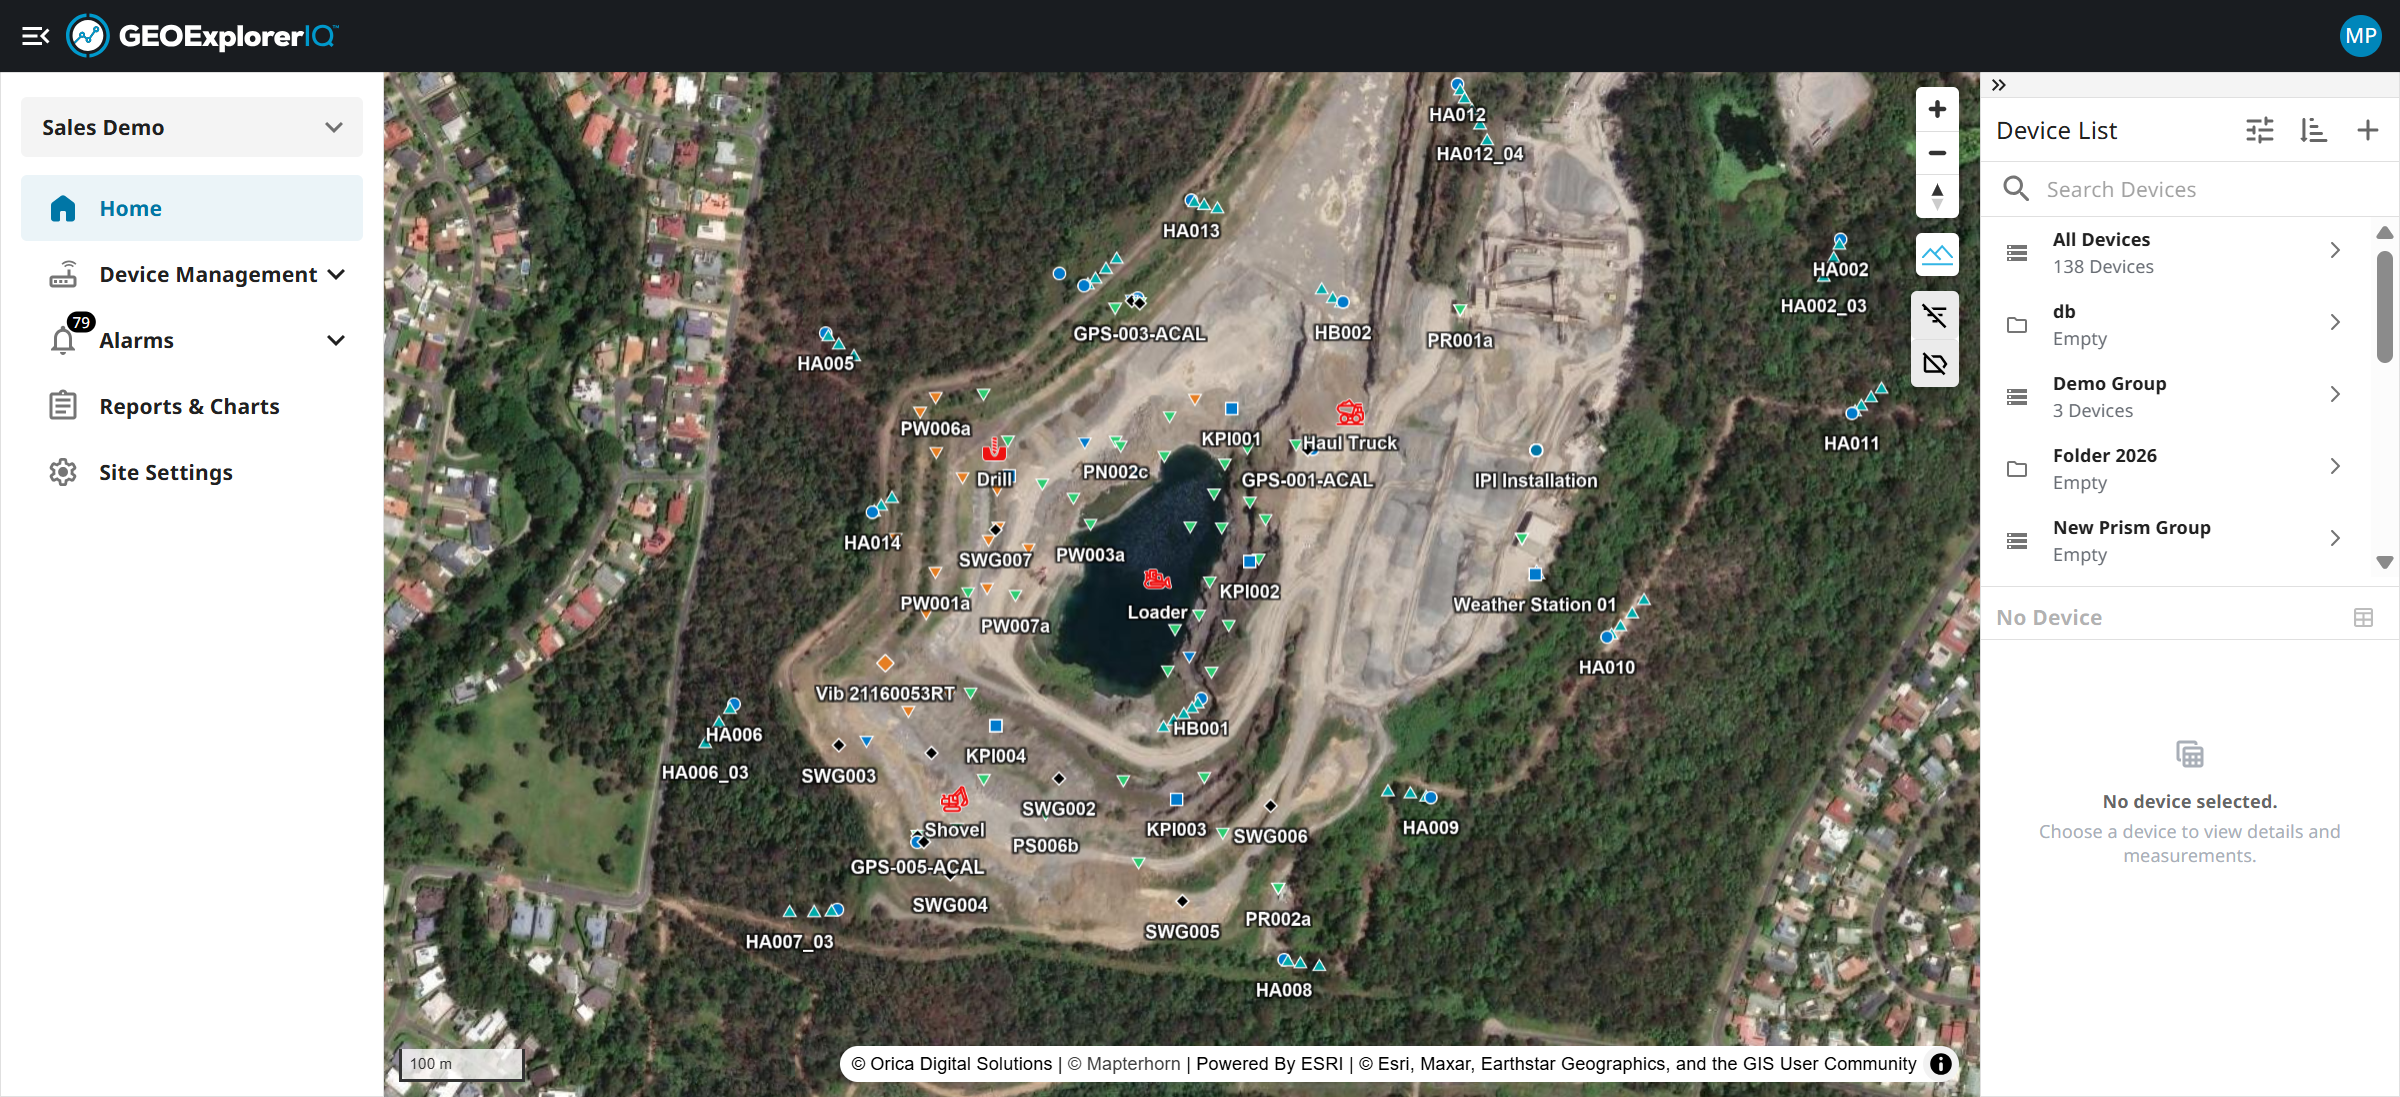
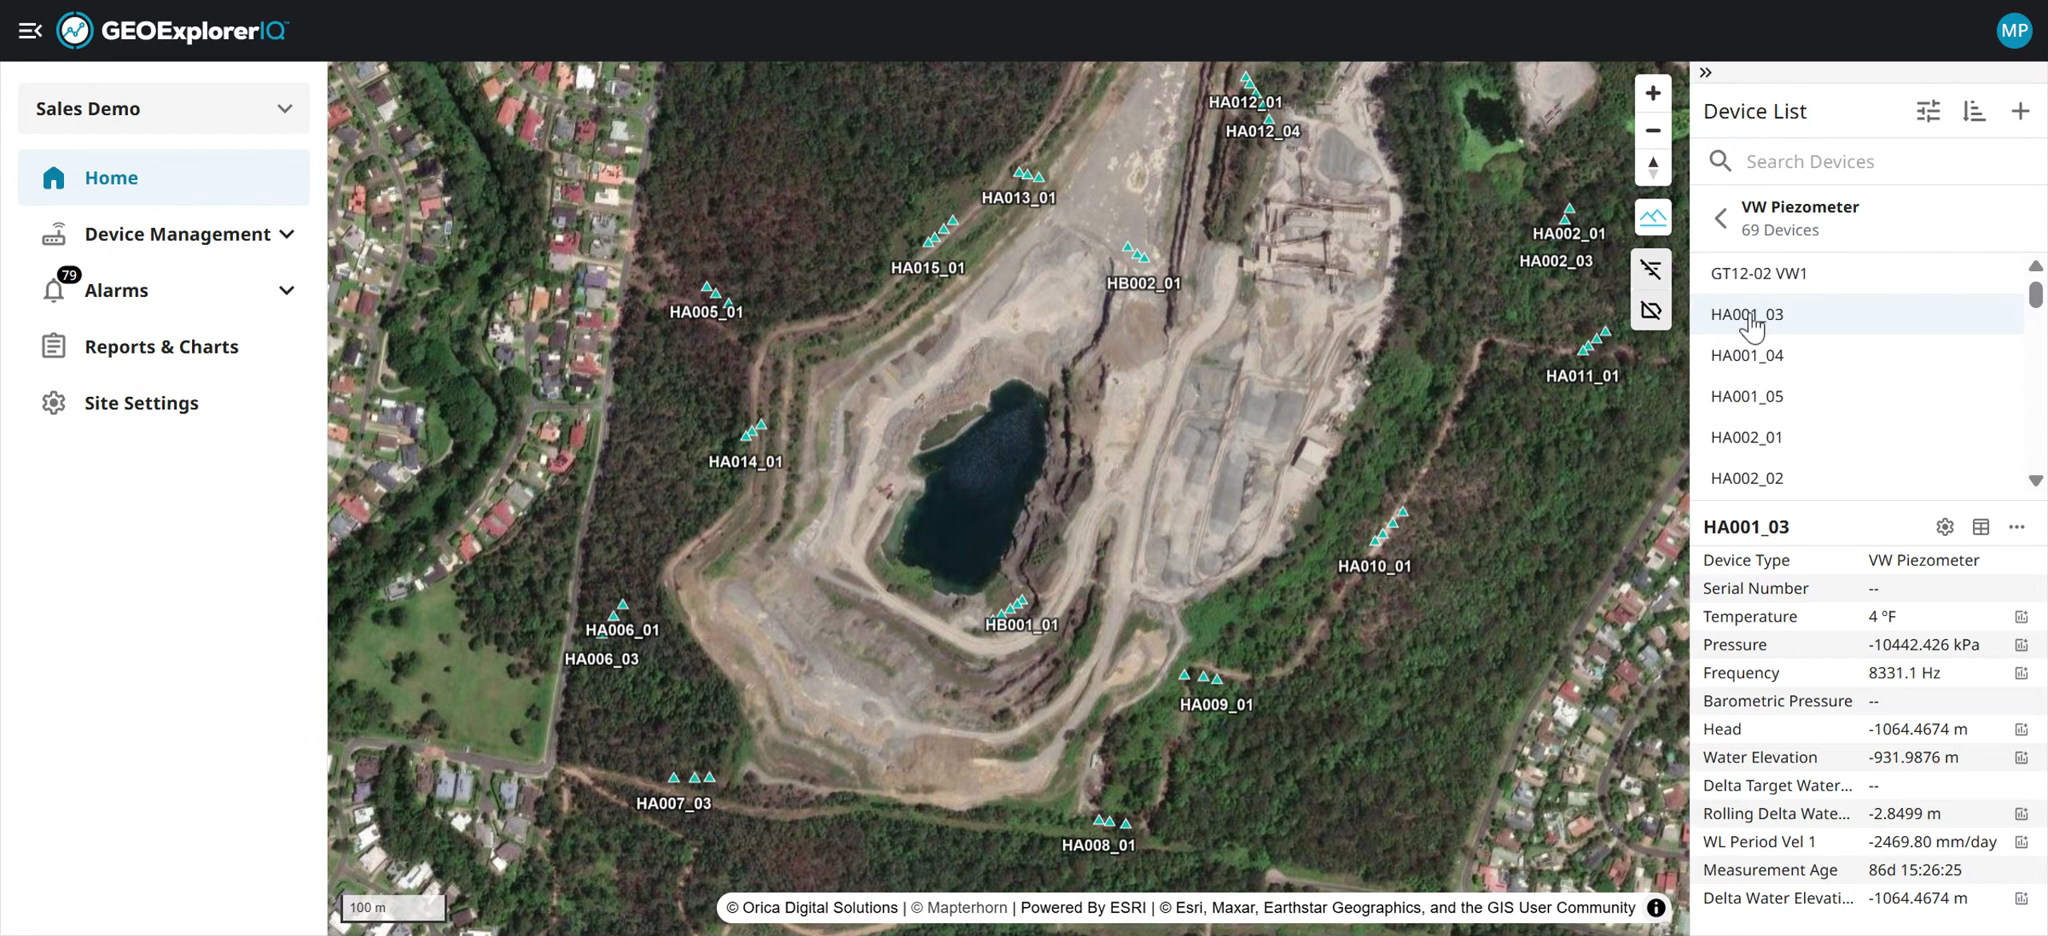
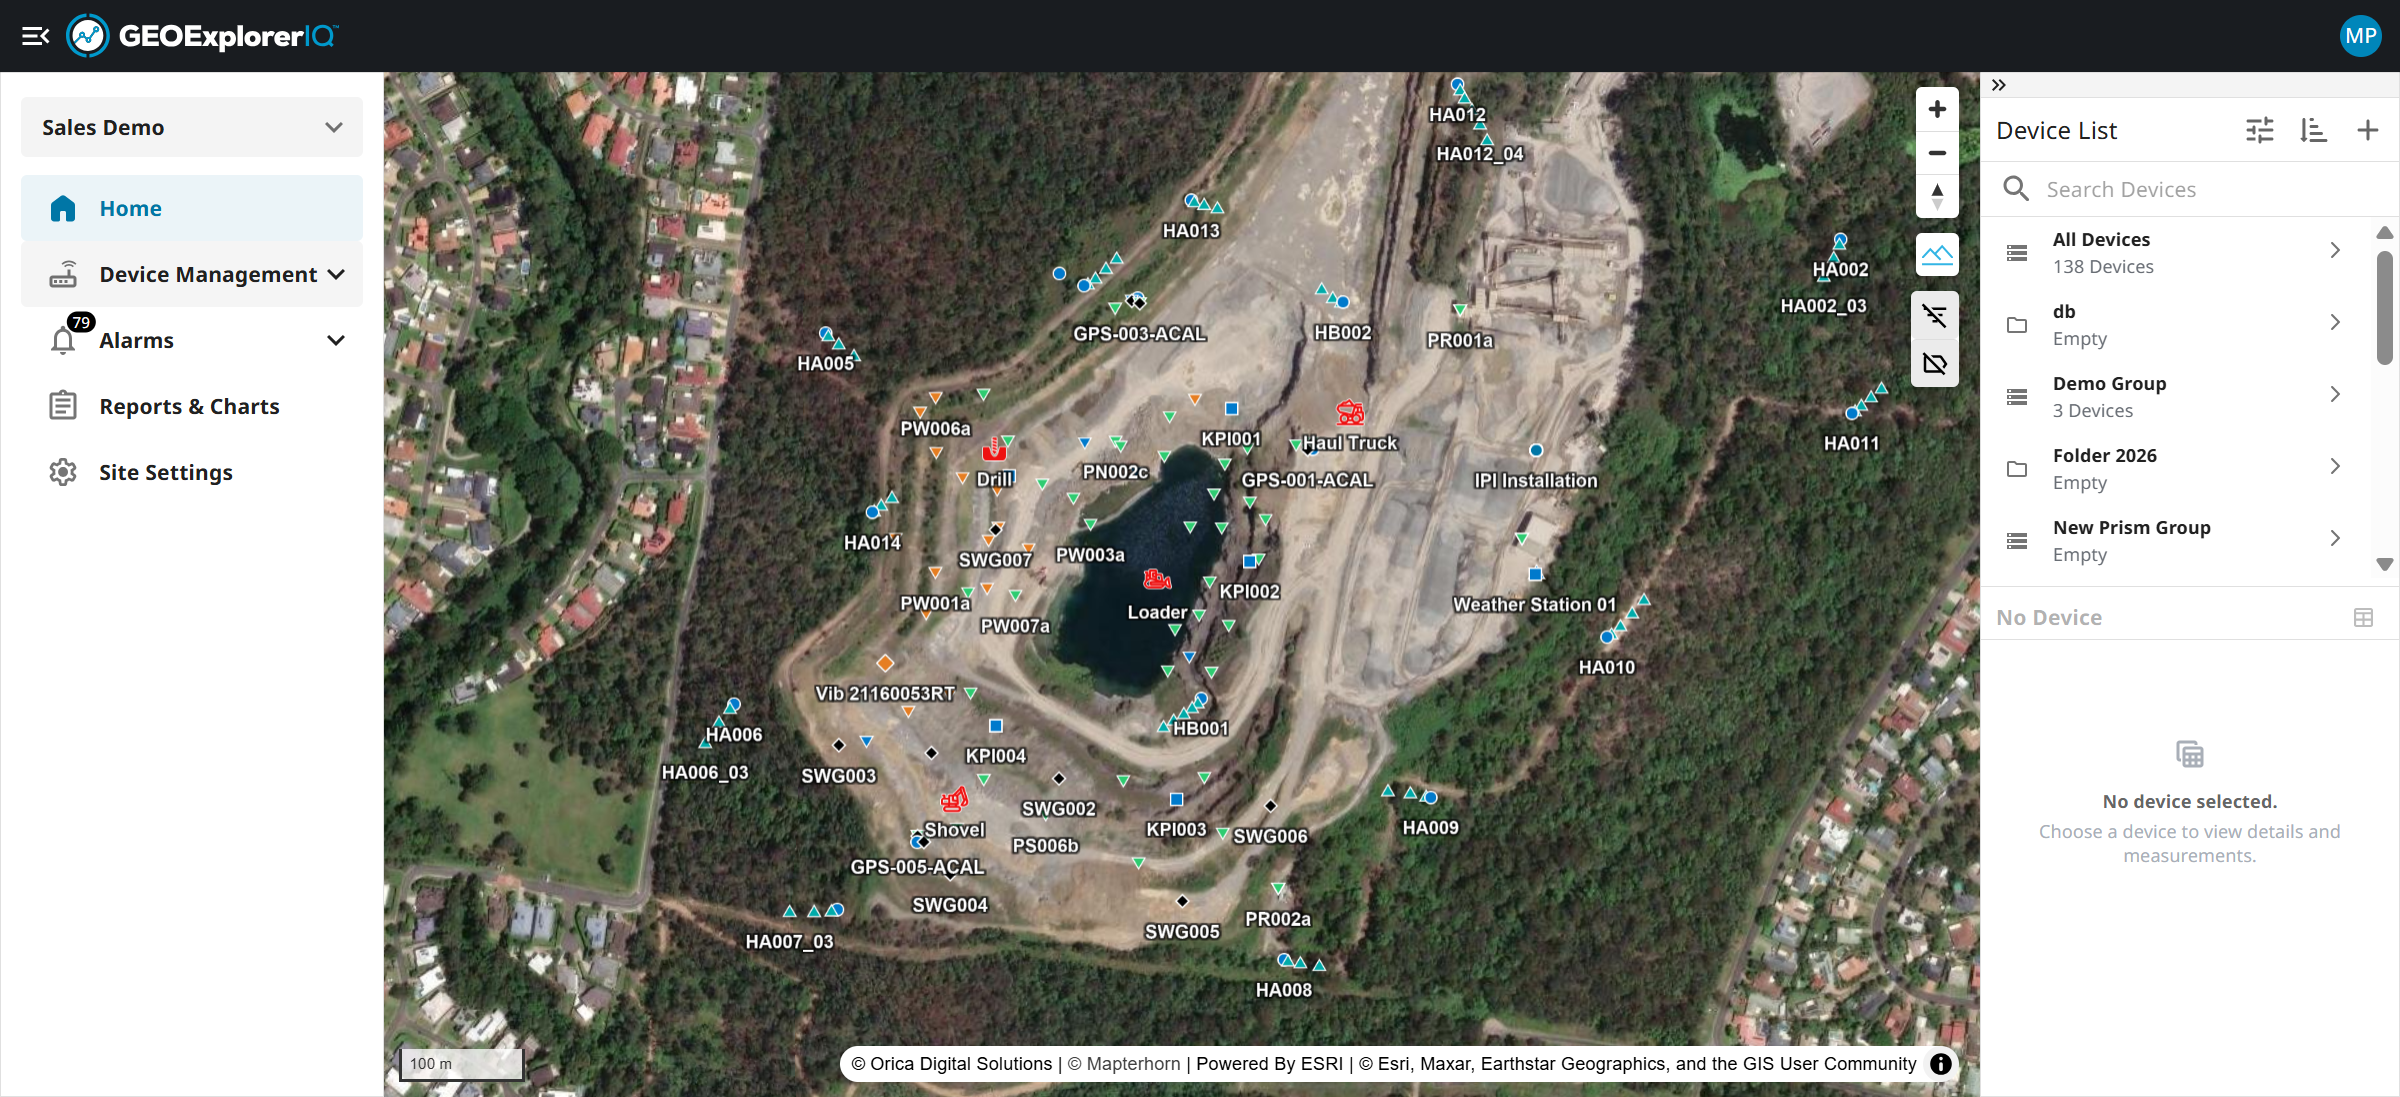
3. A home page will have a geographical map, devices at the right as a default.

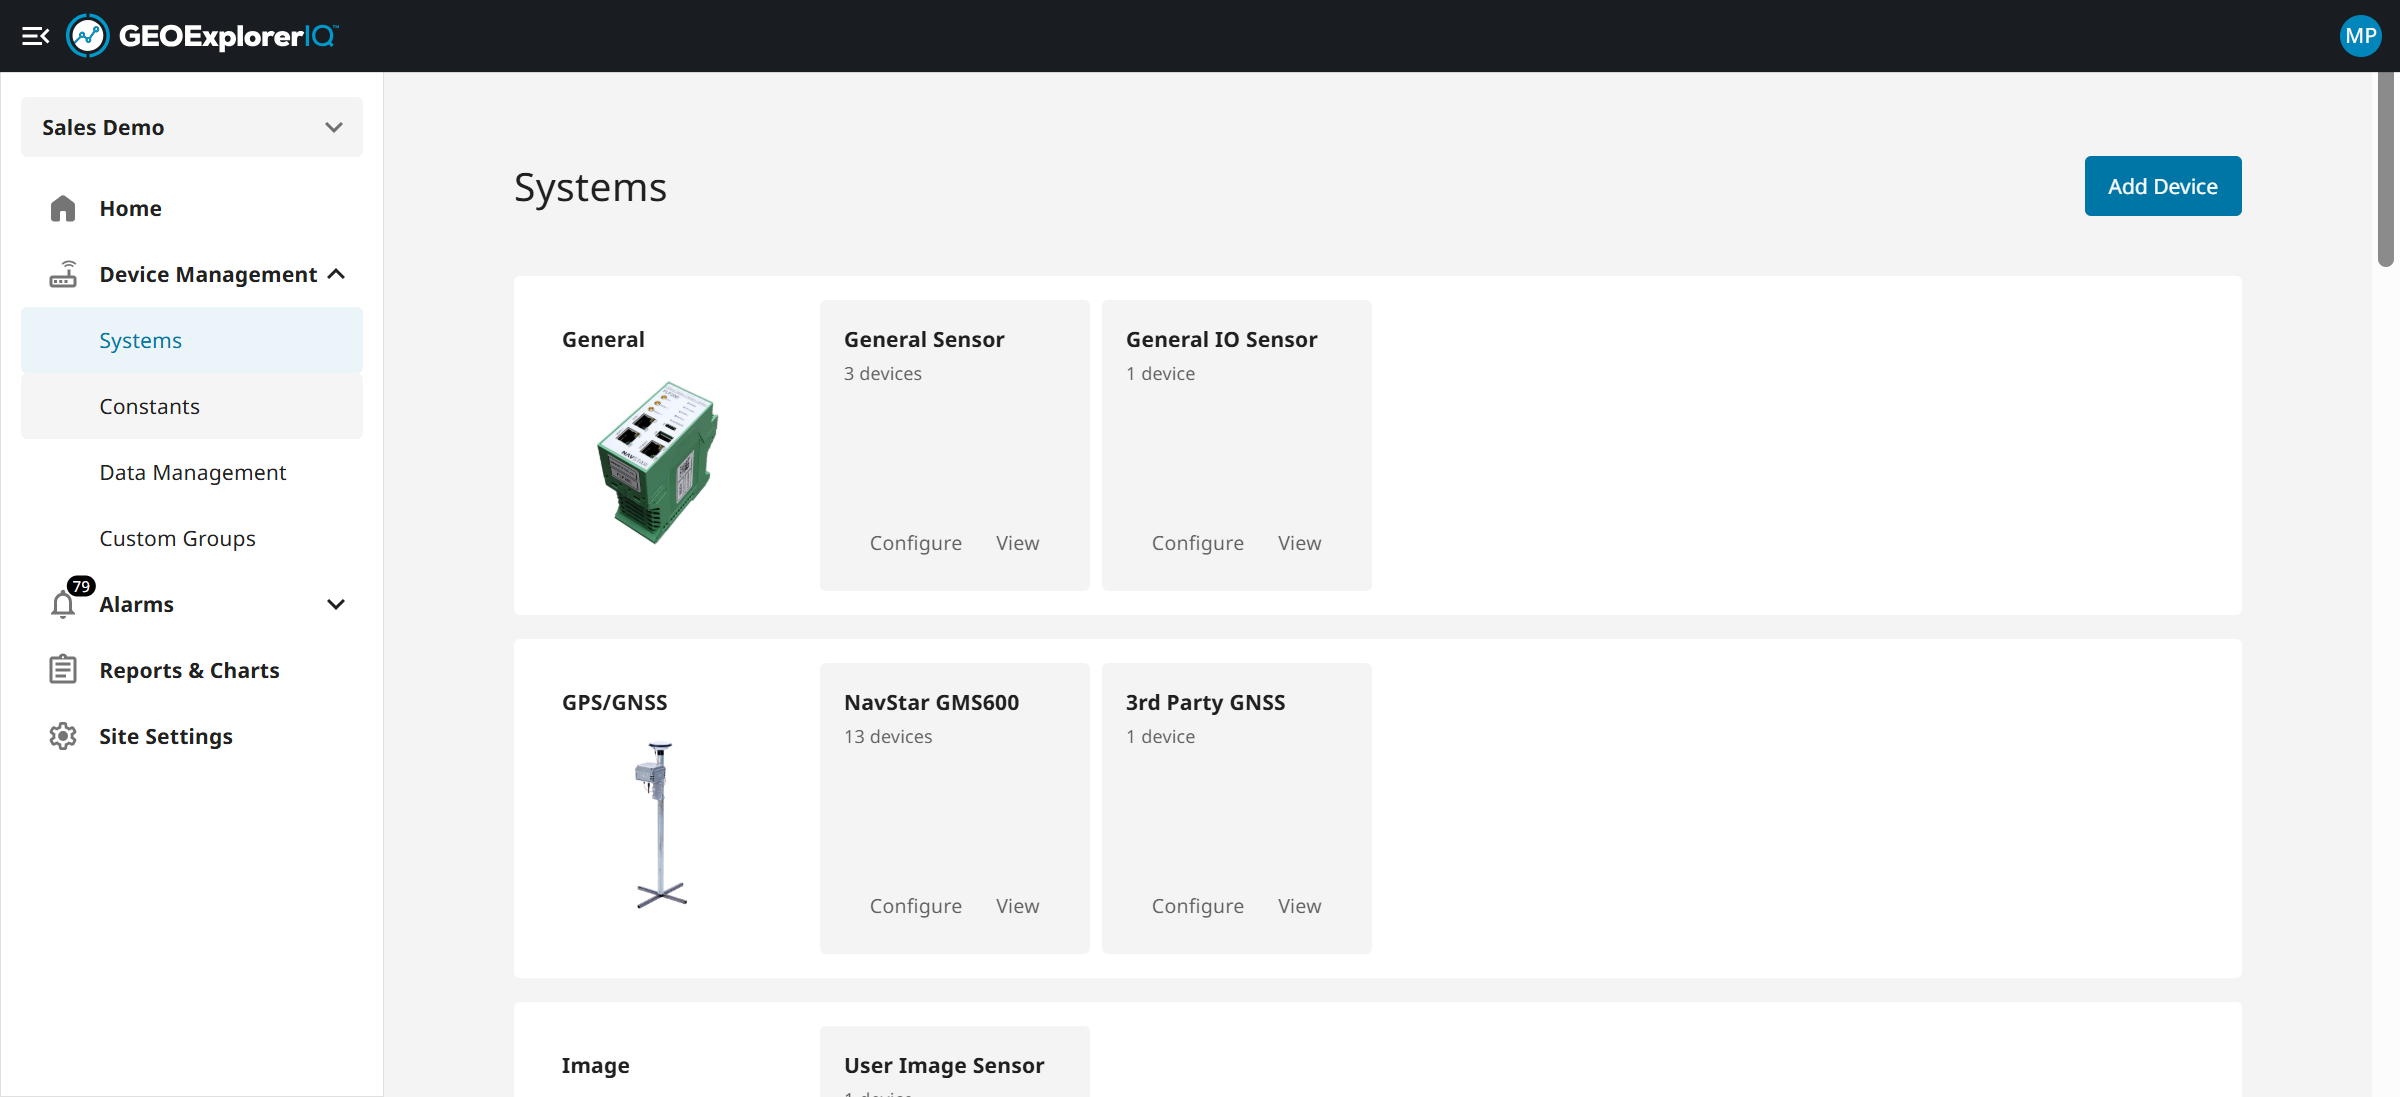
4. Device Management will enable users to add, configure, calibrate, group the devices and manage the data.
5. Add, configure the devices.
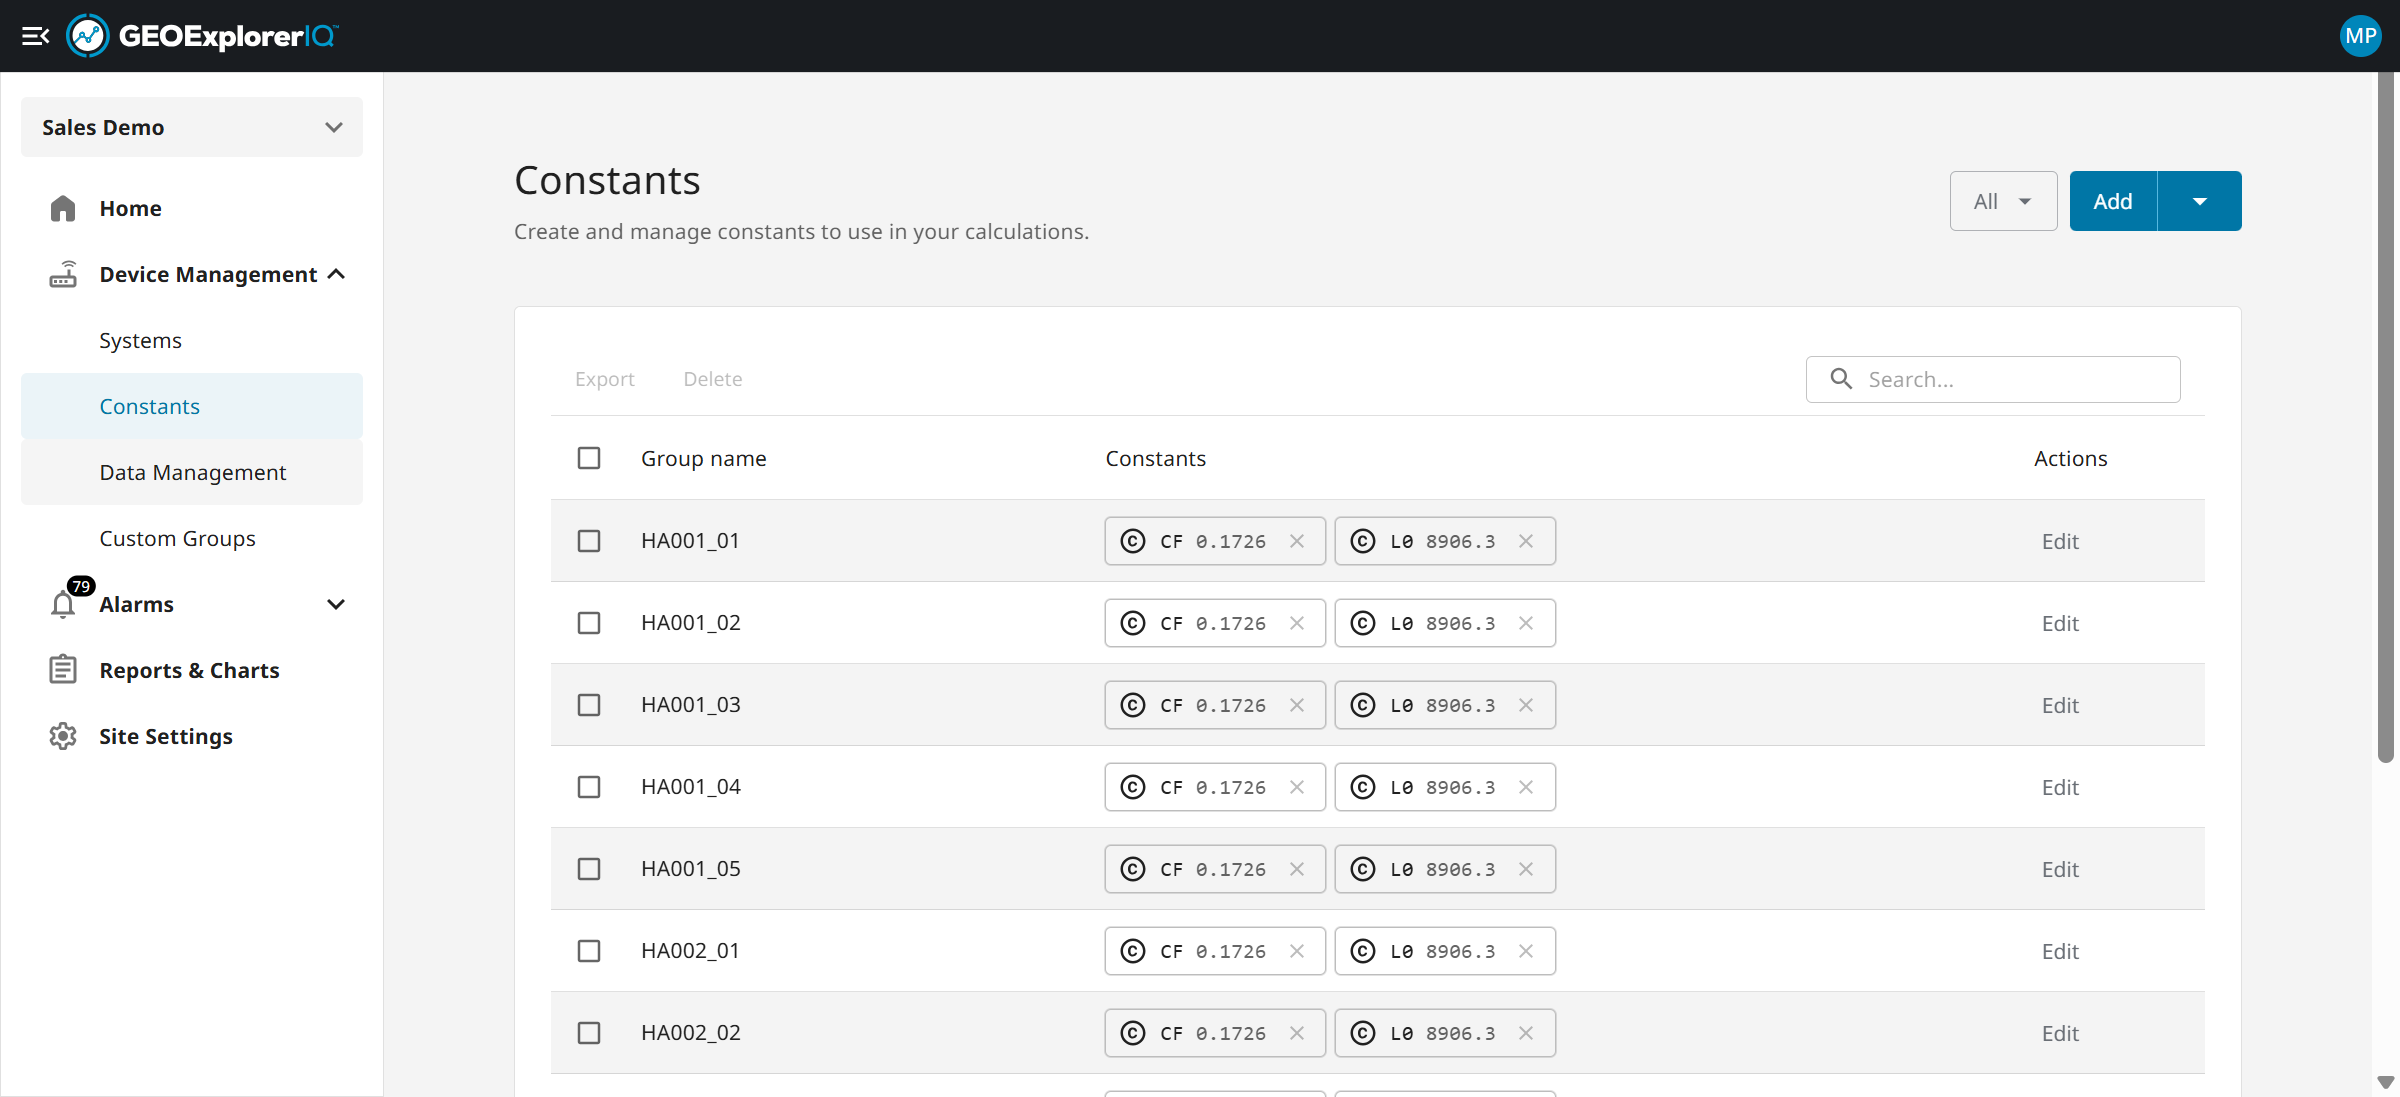
6. Add constants and manage group of constant. This will enable users to use the constants in device configuration
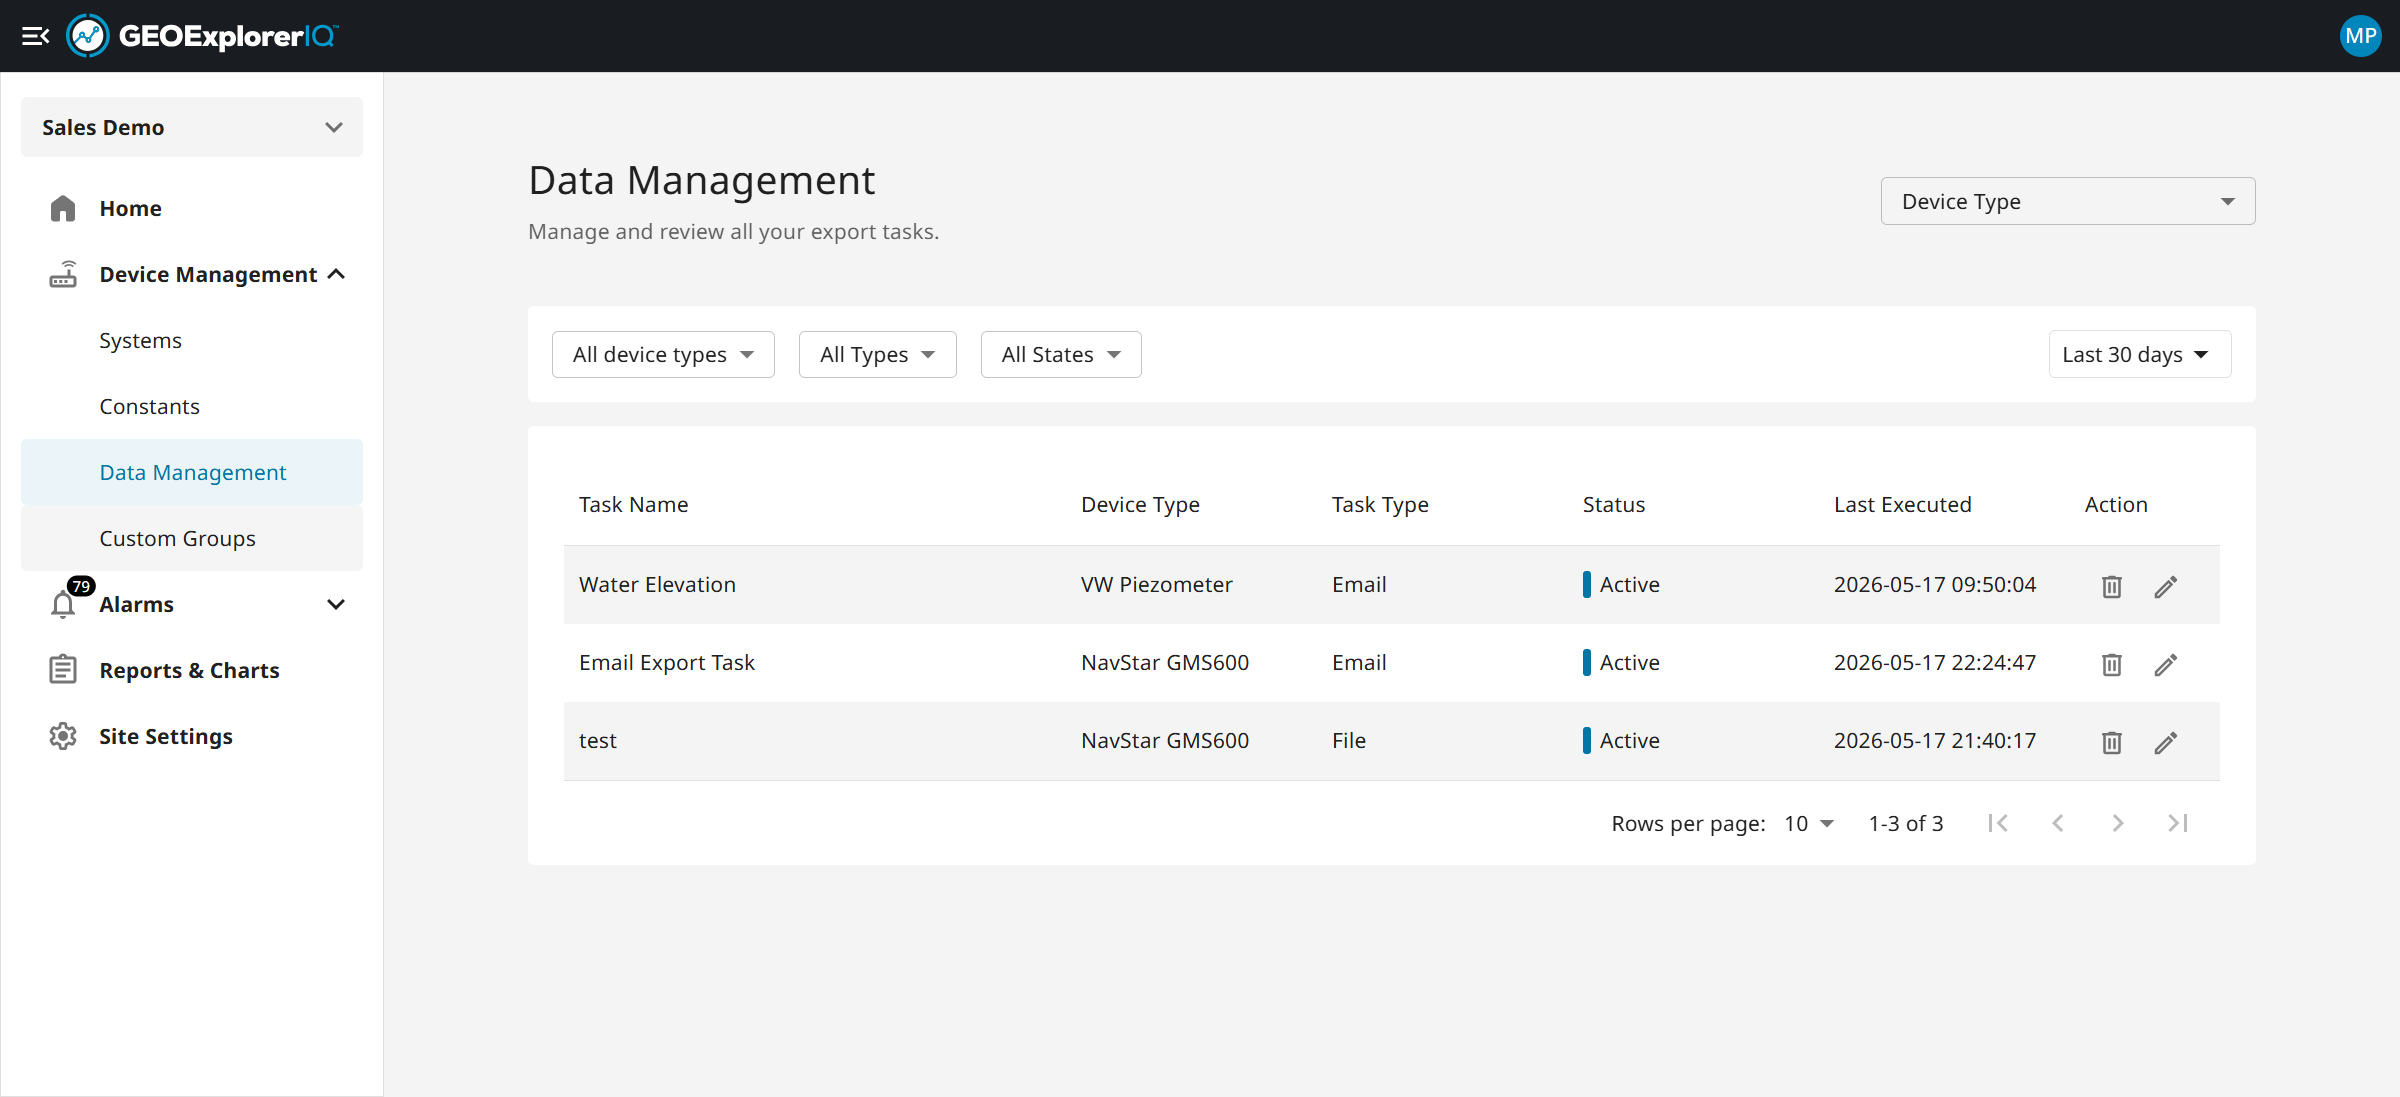
7. Manage data extraction , manual or automated scheduling.
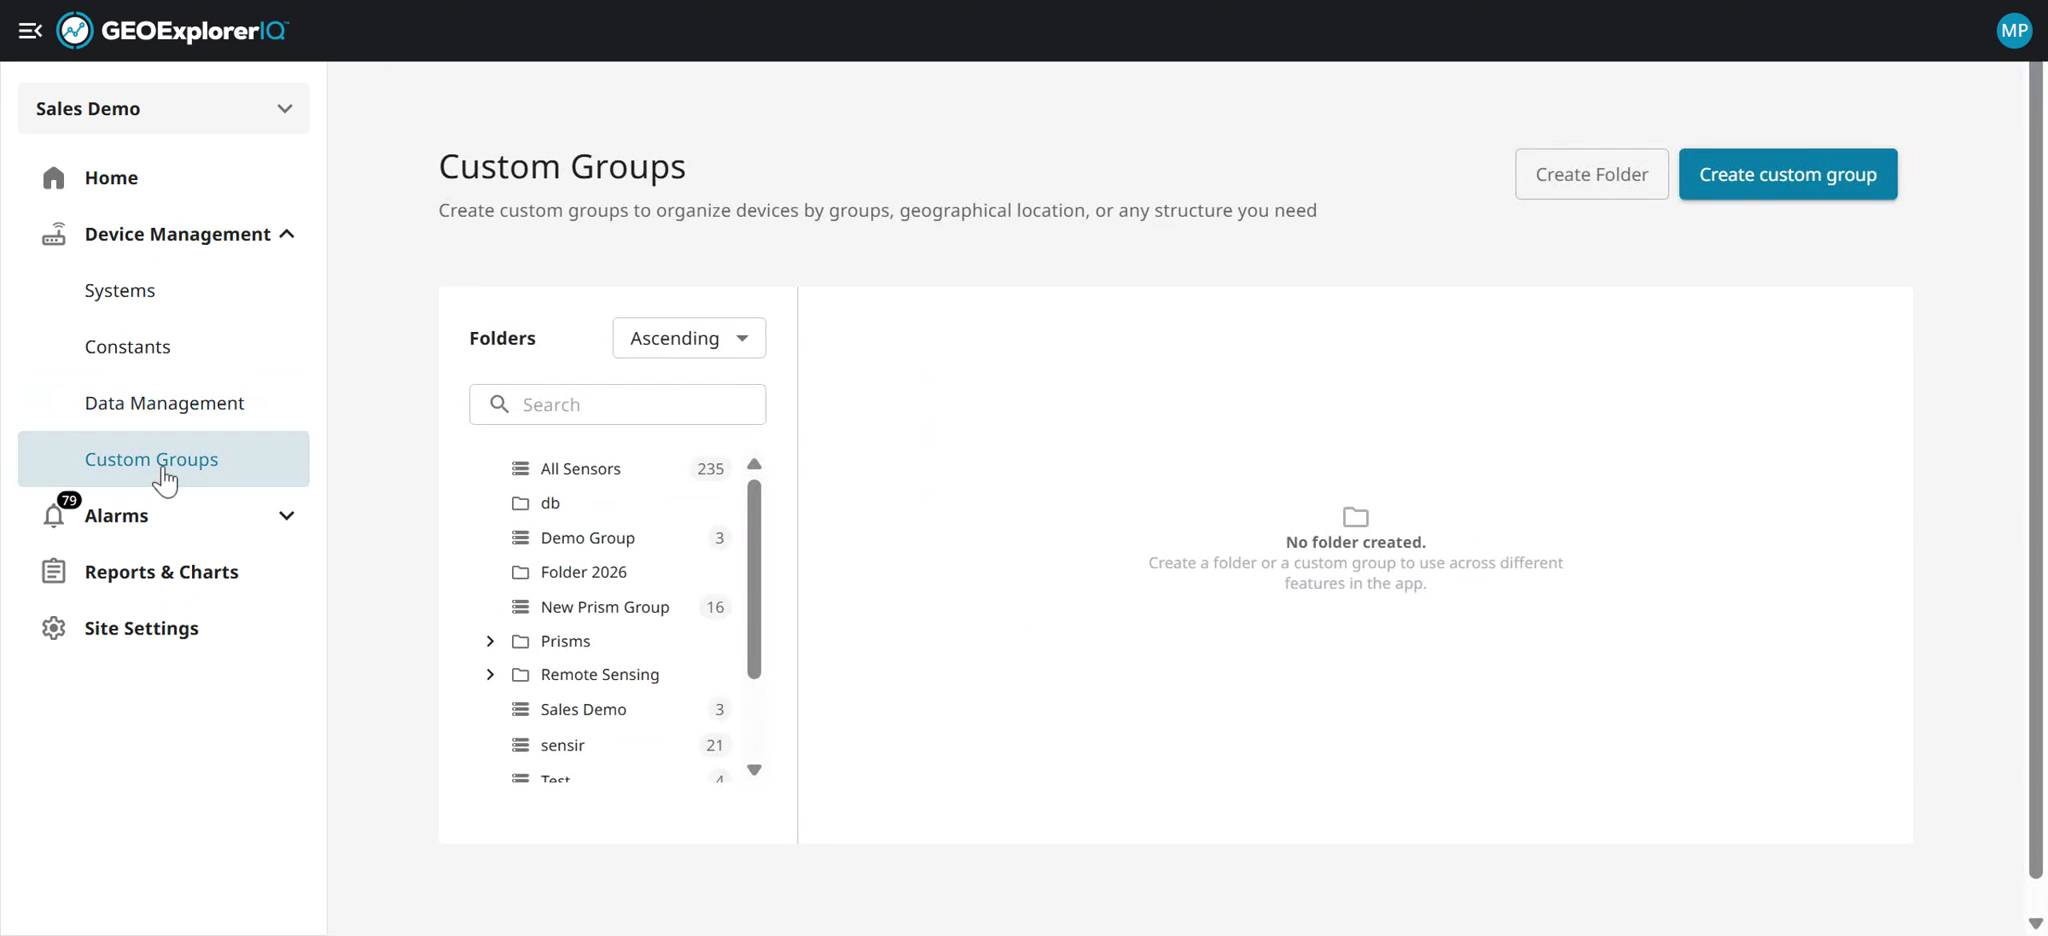
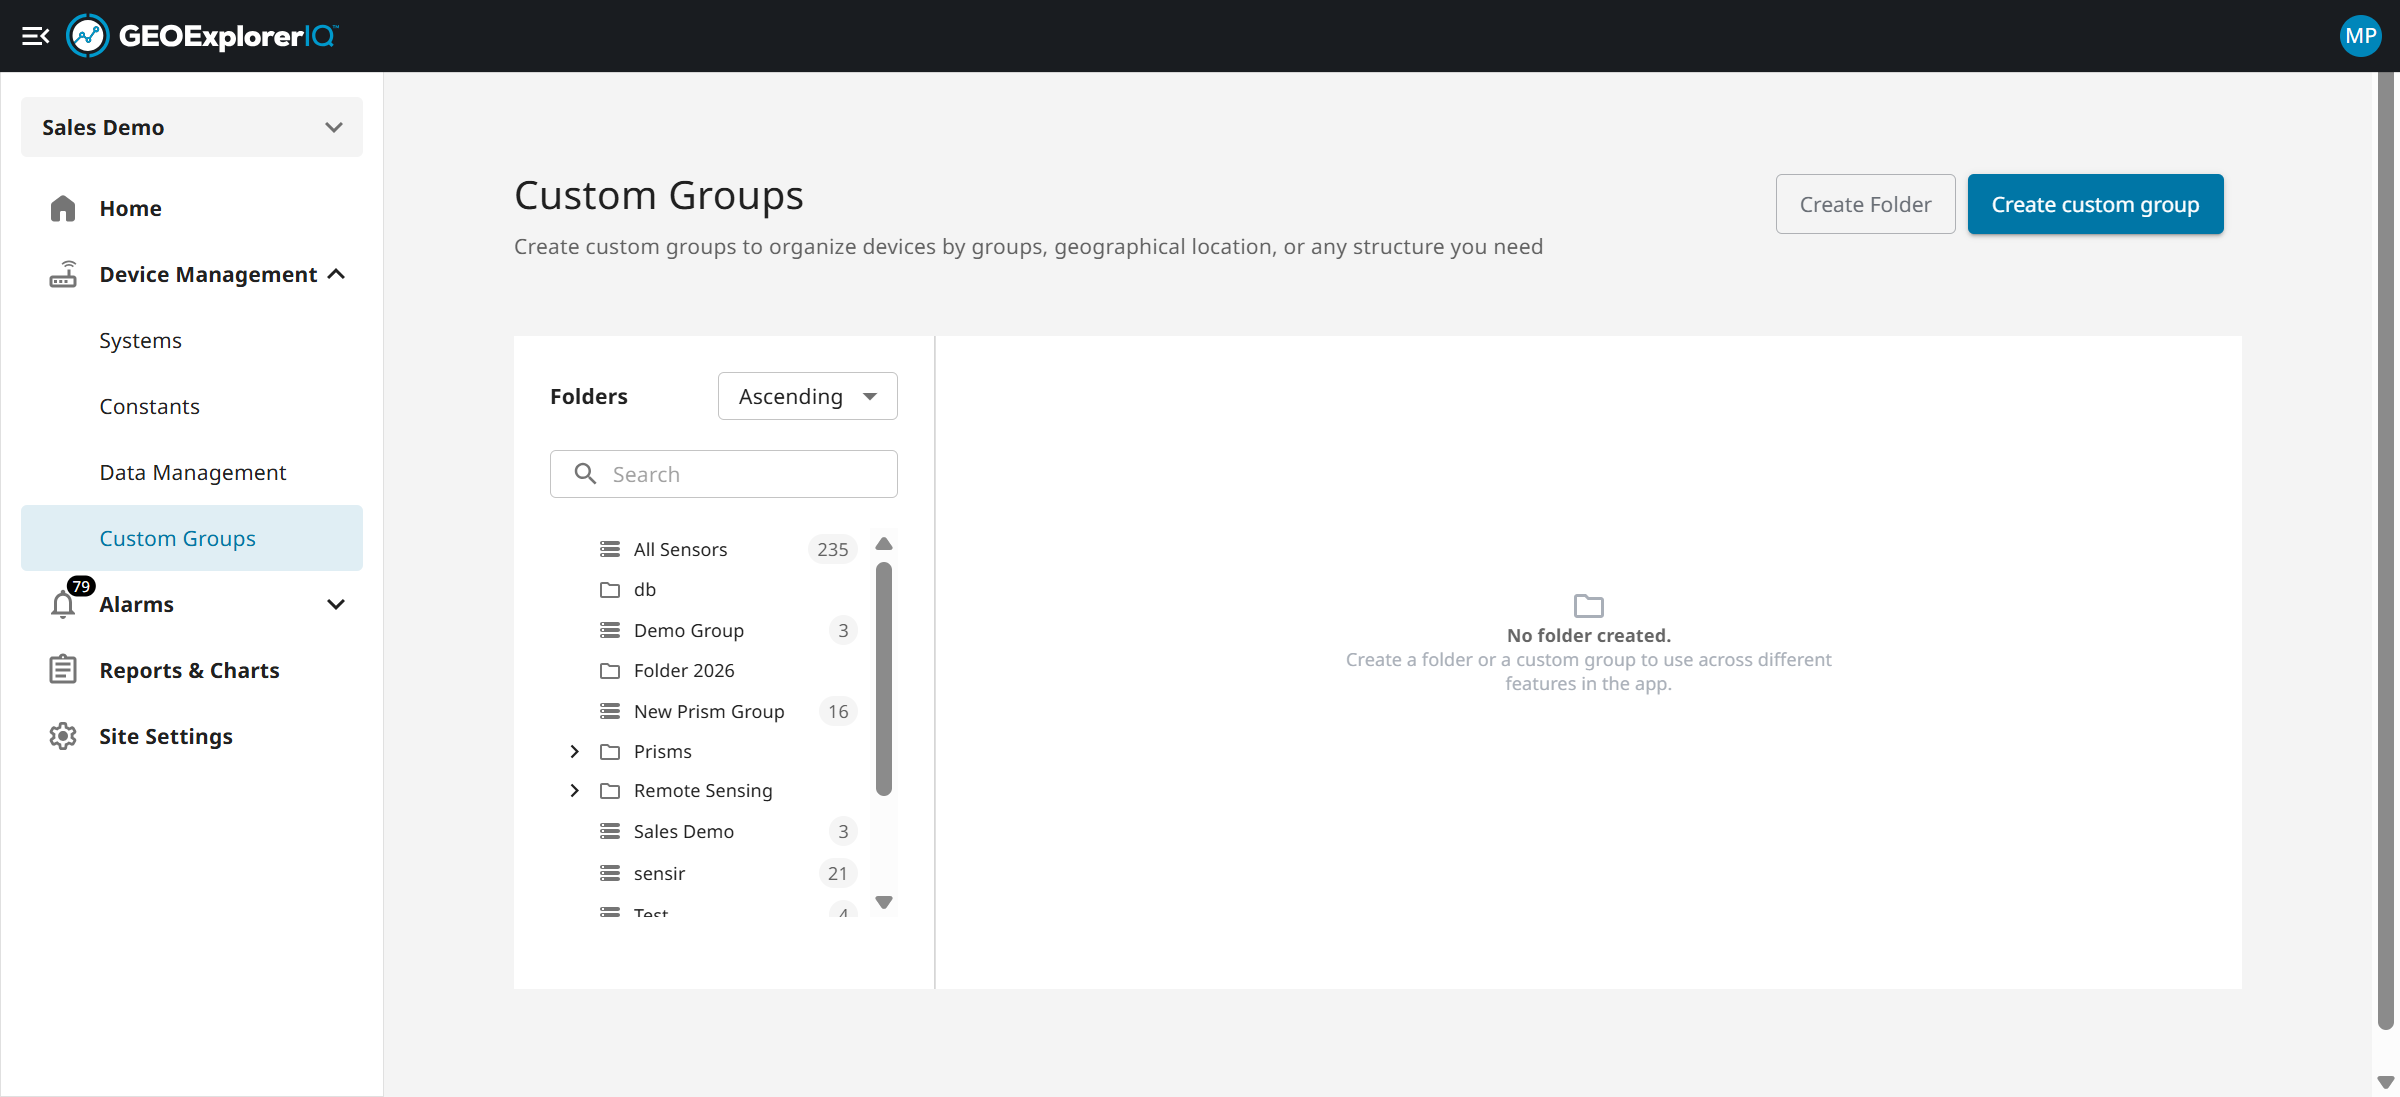
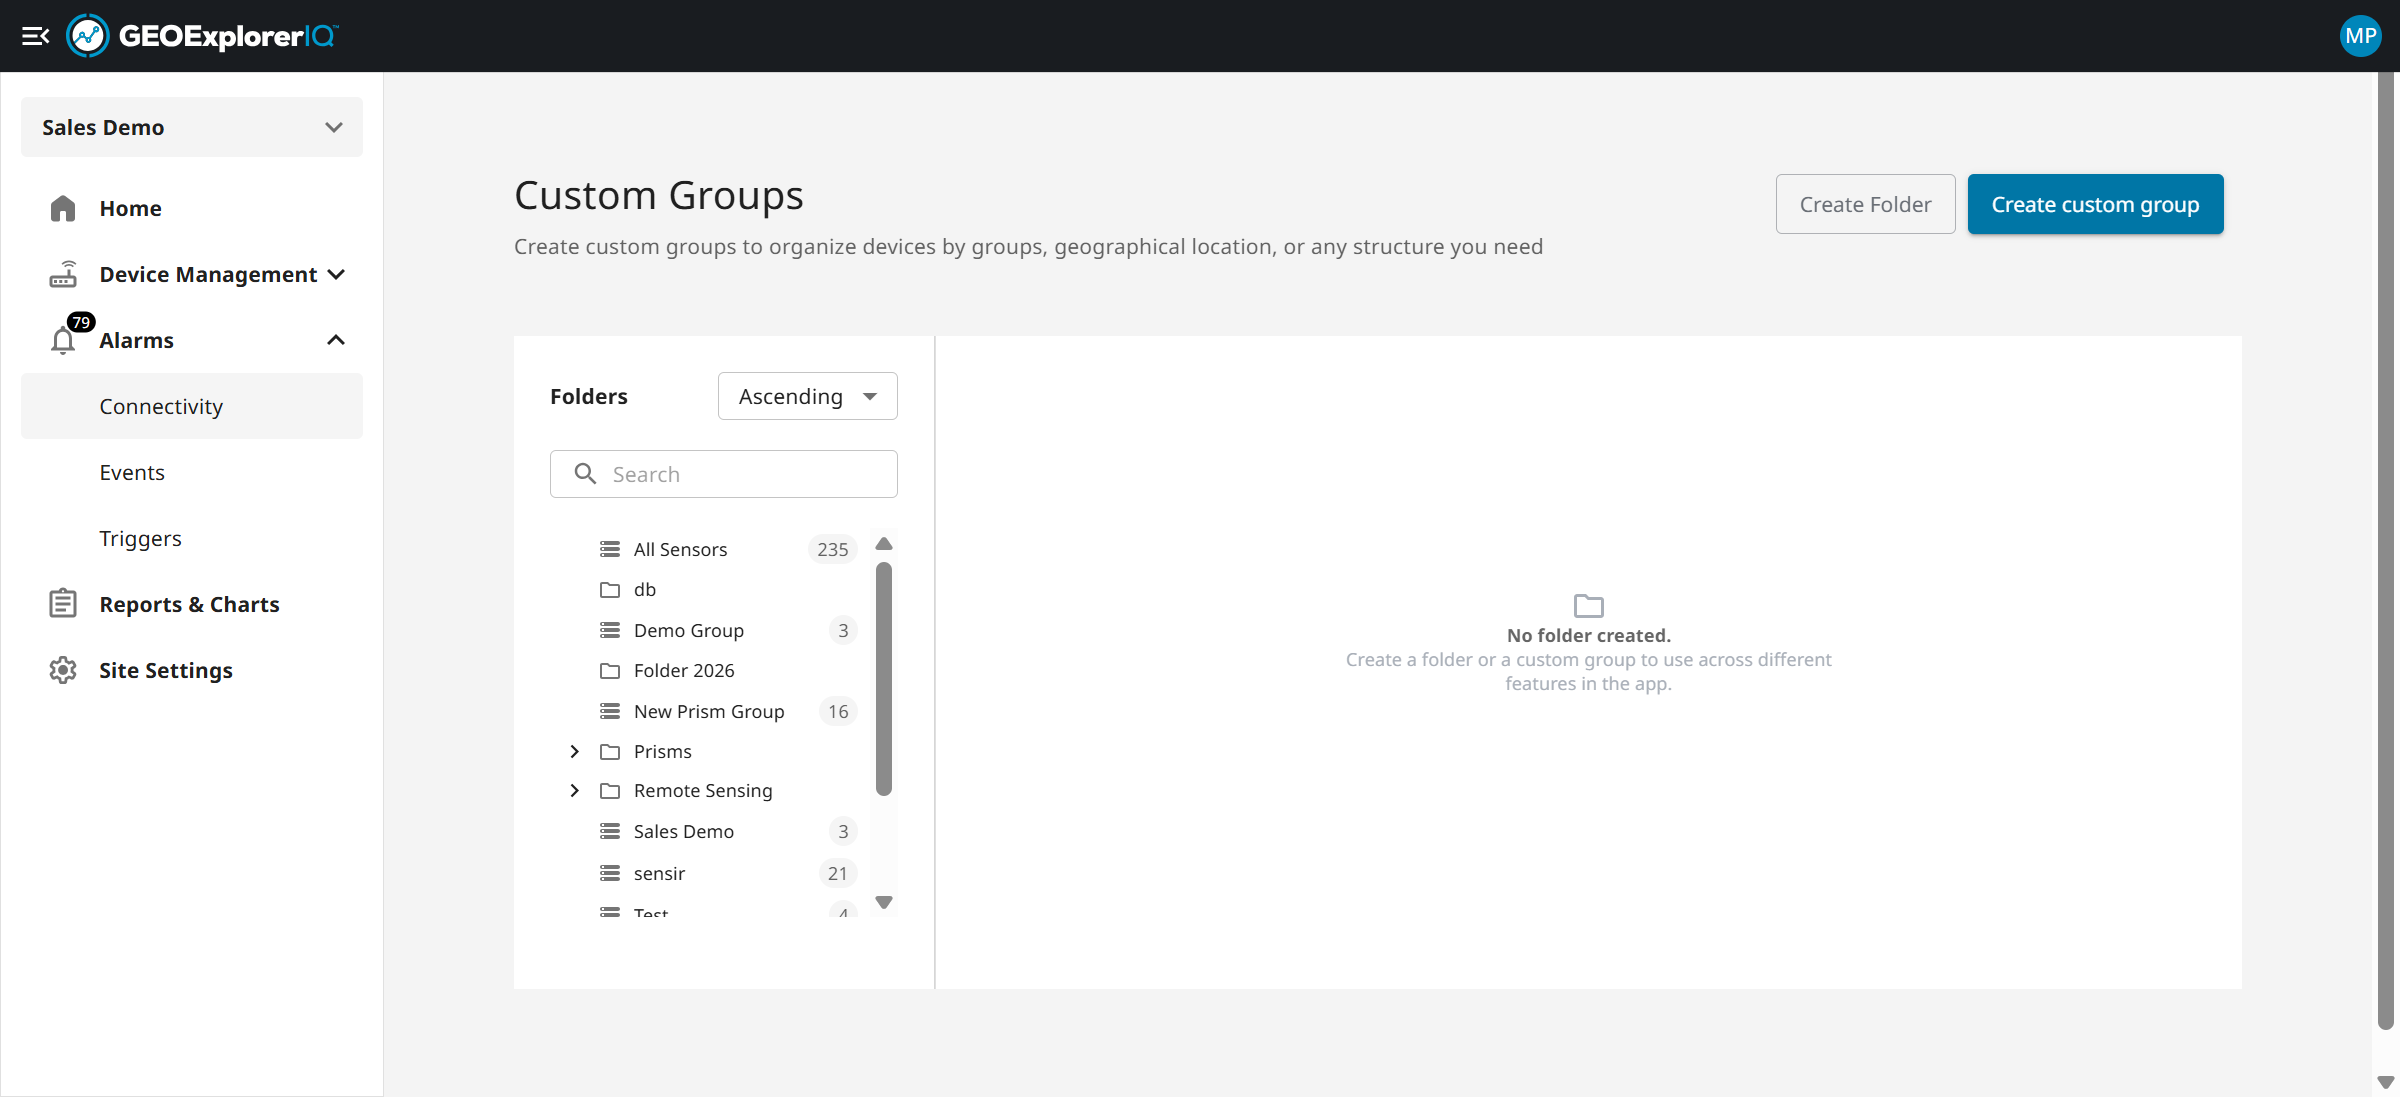
8. Custom group allows users to group a set of devices based on projects or any logical grouping.
9. Alarm section helps users to add triggers based on site's thresholds
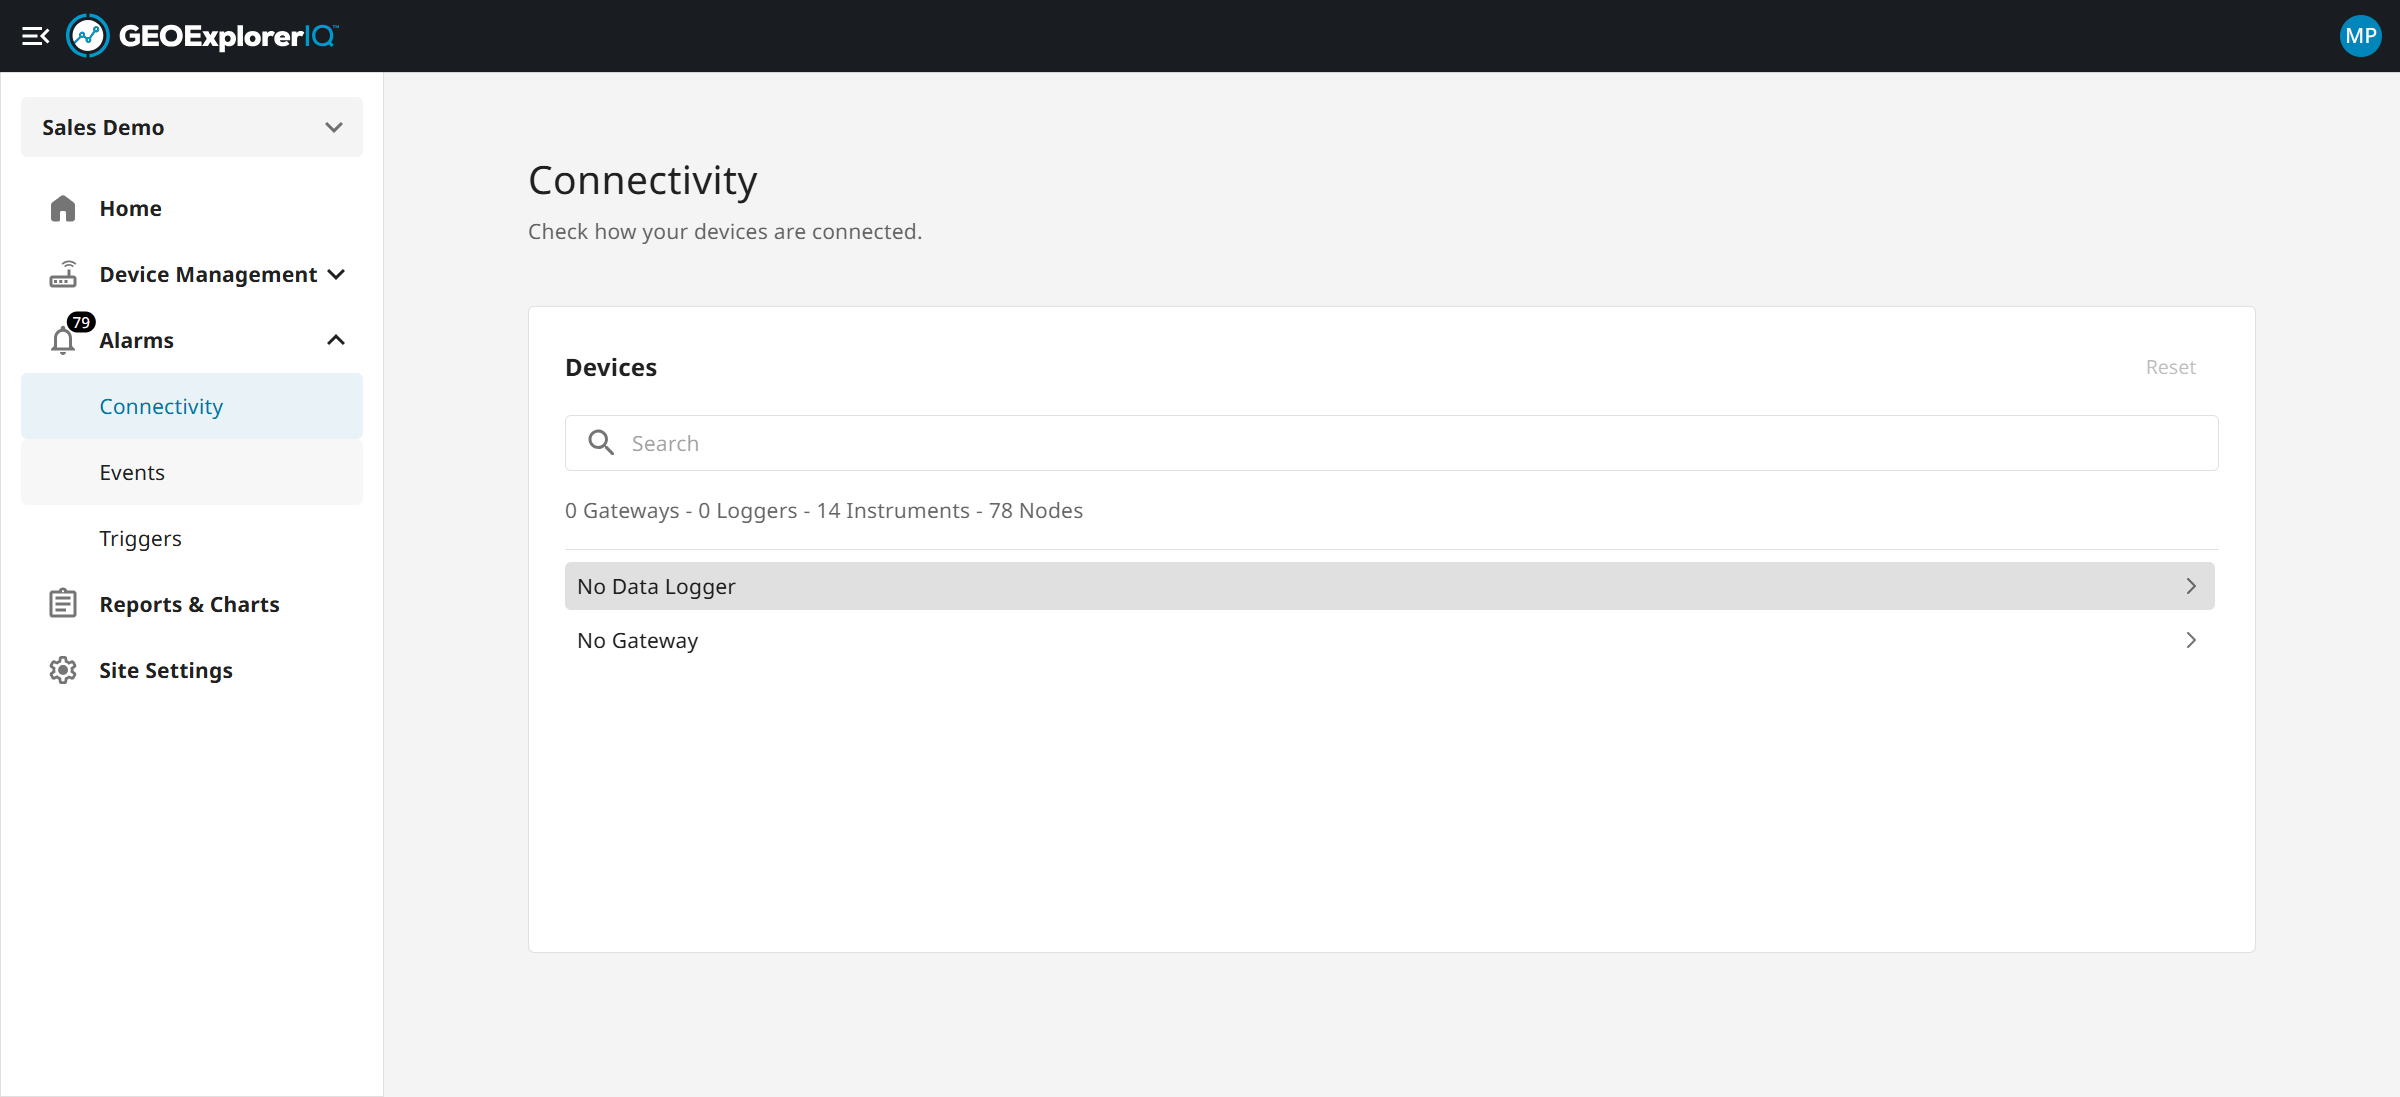
10. Connectivity tab allows users to the health of the devices and any data latency issues.
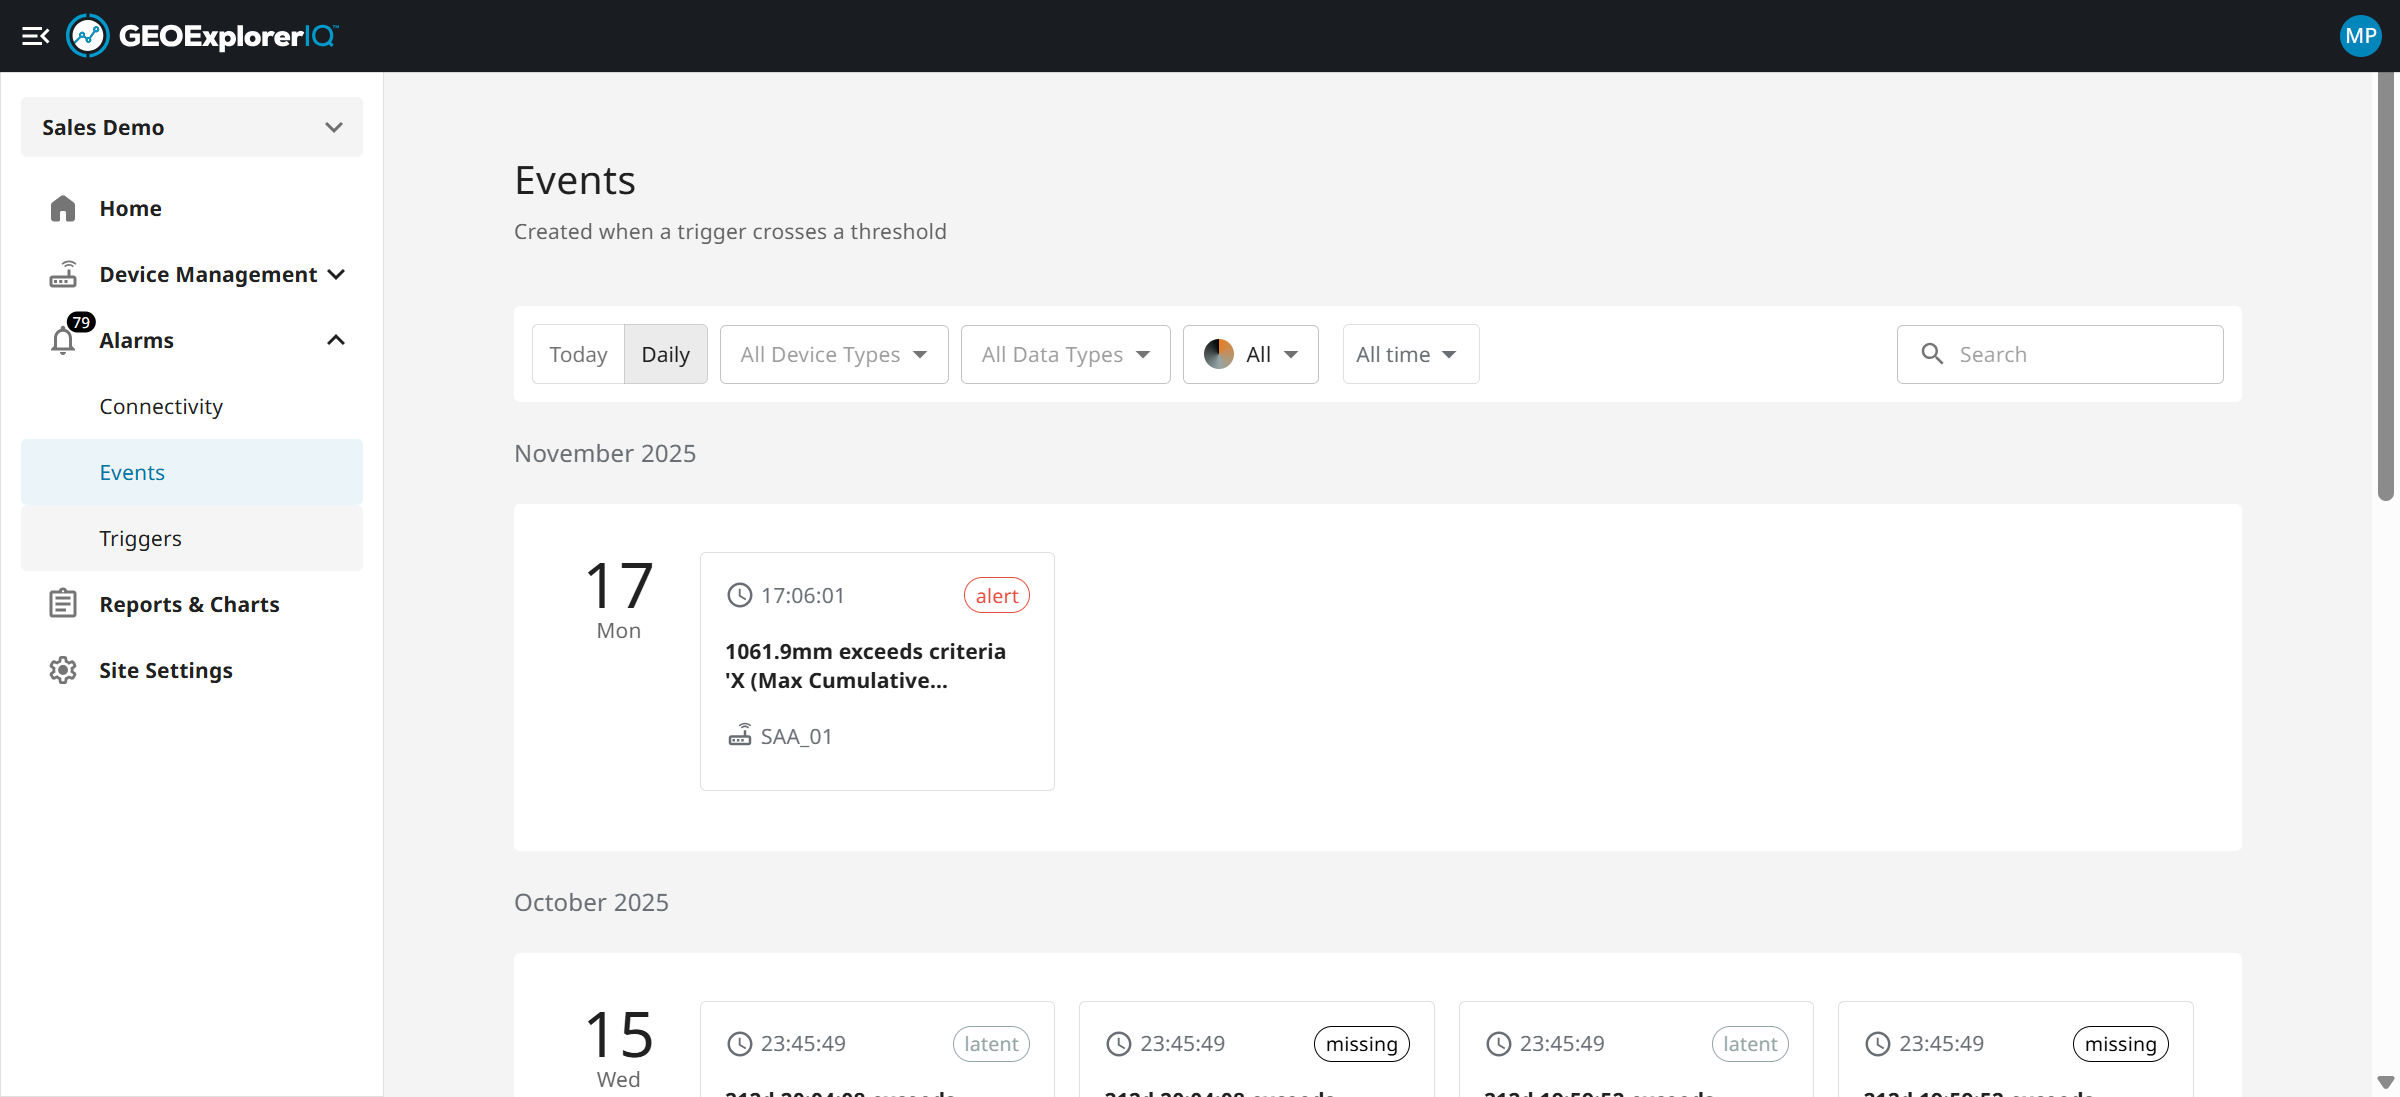
11. An event is triggered whenever data exceeds or falls below the set thresholds.
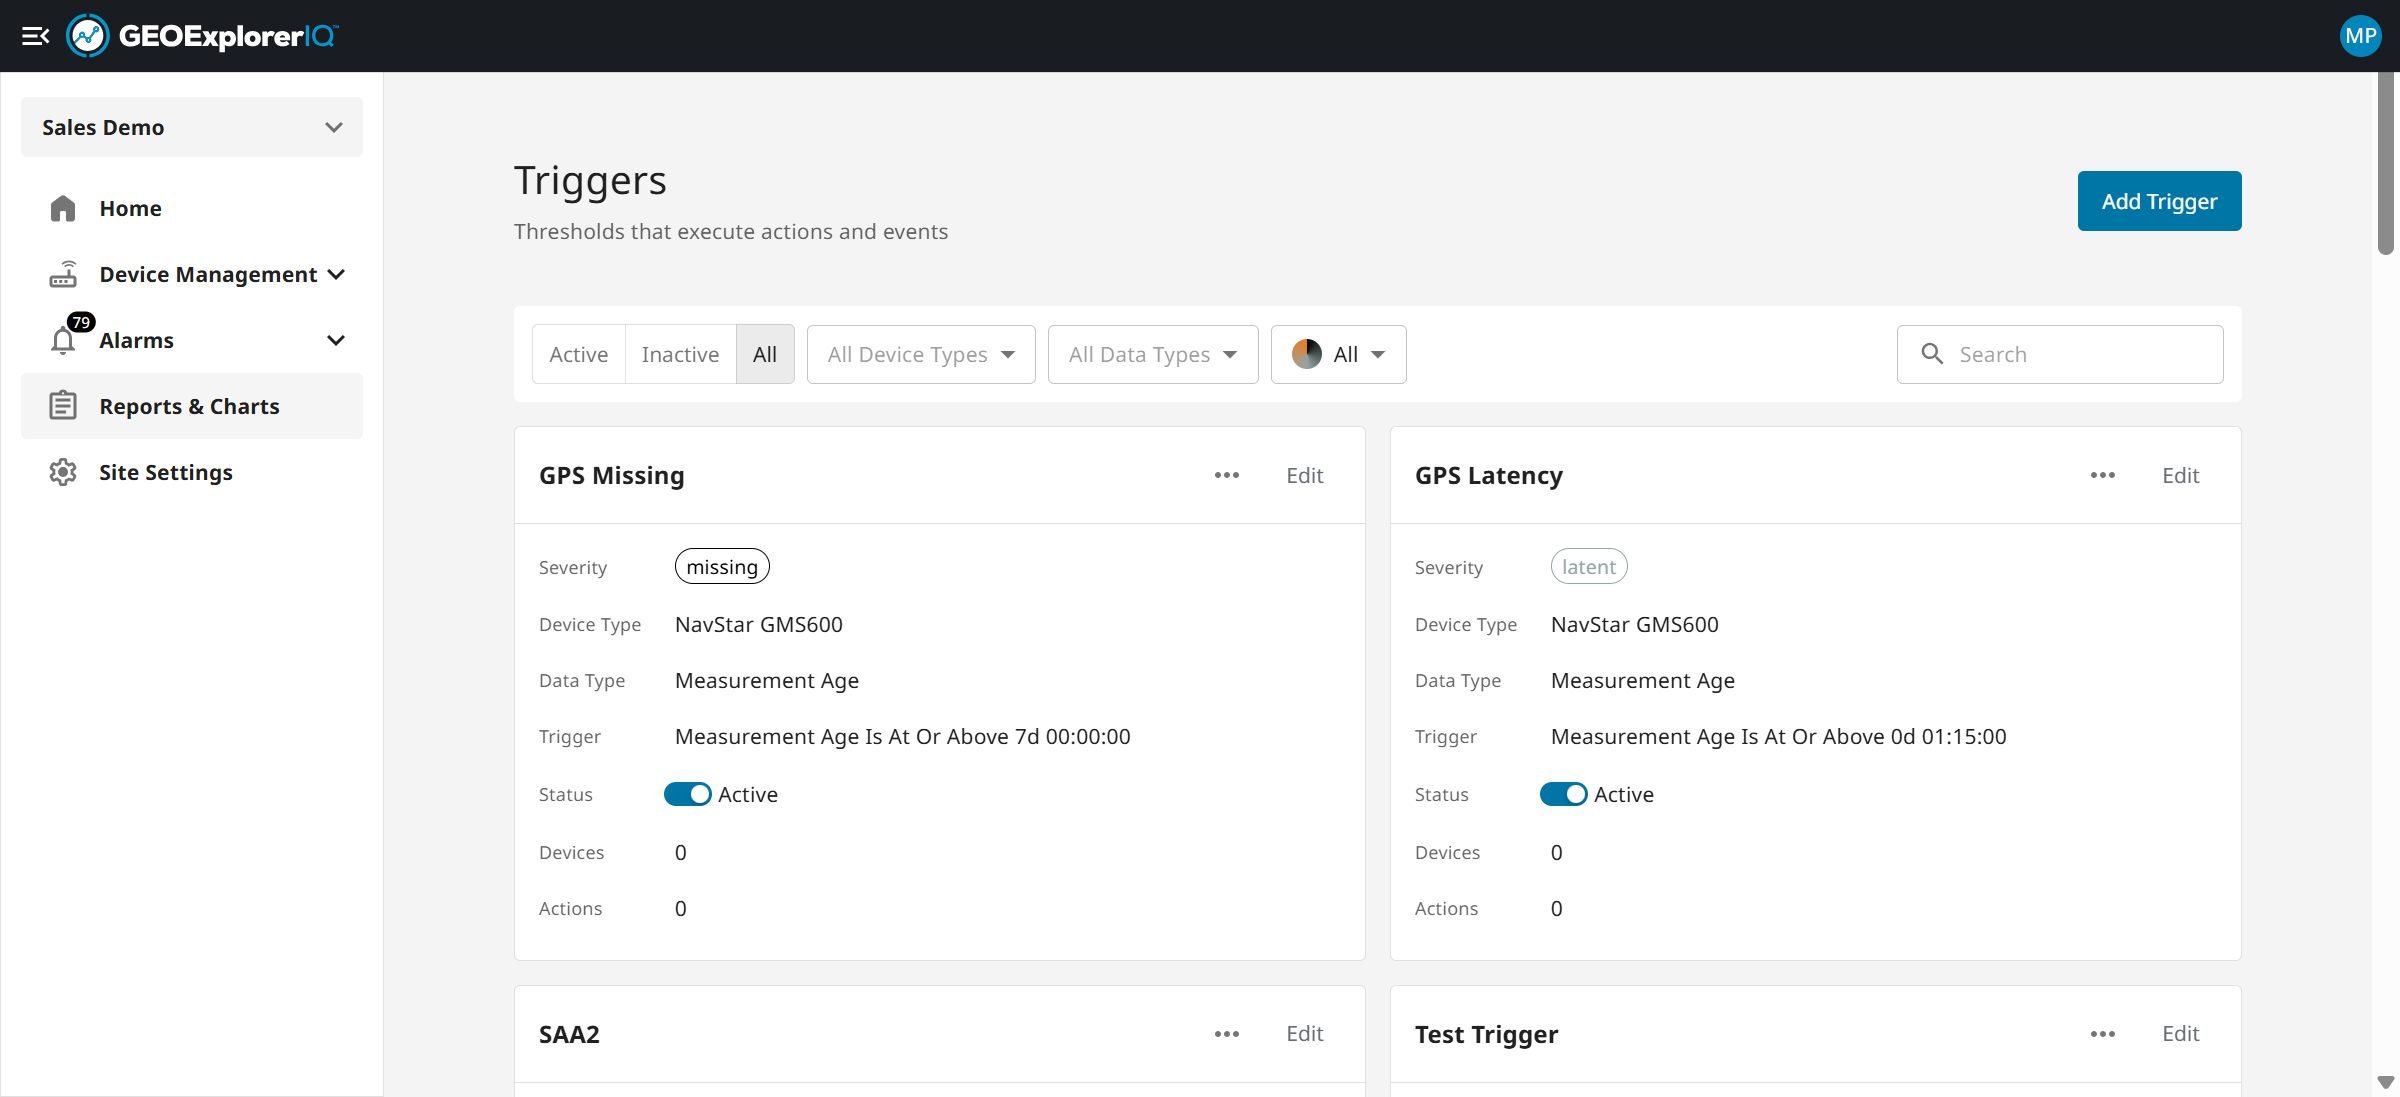
12. Trigger setup enables users to define specific conditions for monitoring selected data.
13. Saved charts and Reports allows users to save charts from previous analysis. Reports enable users to create reports for internal and external stakeholders.
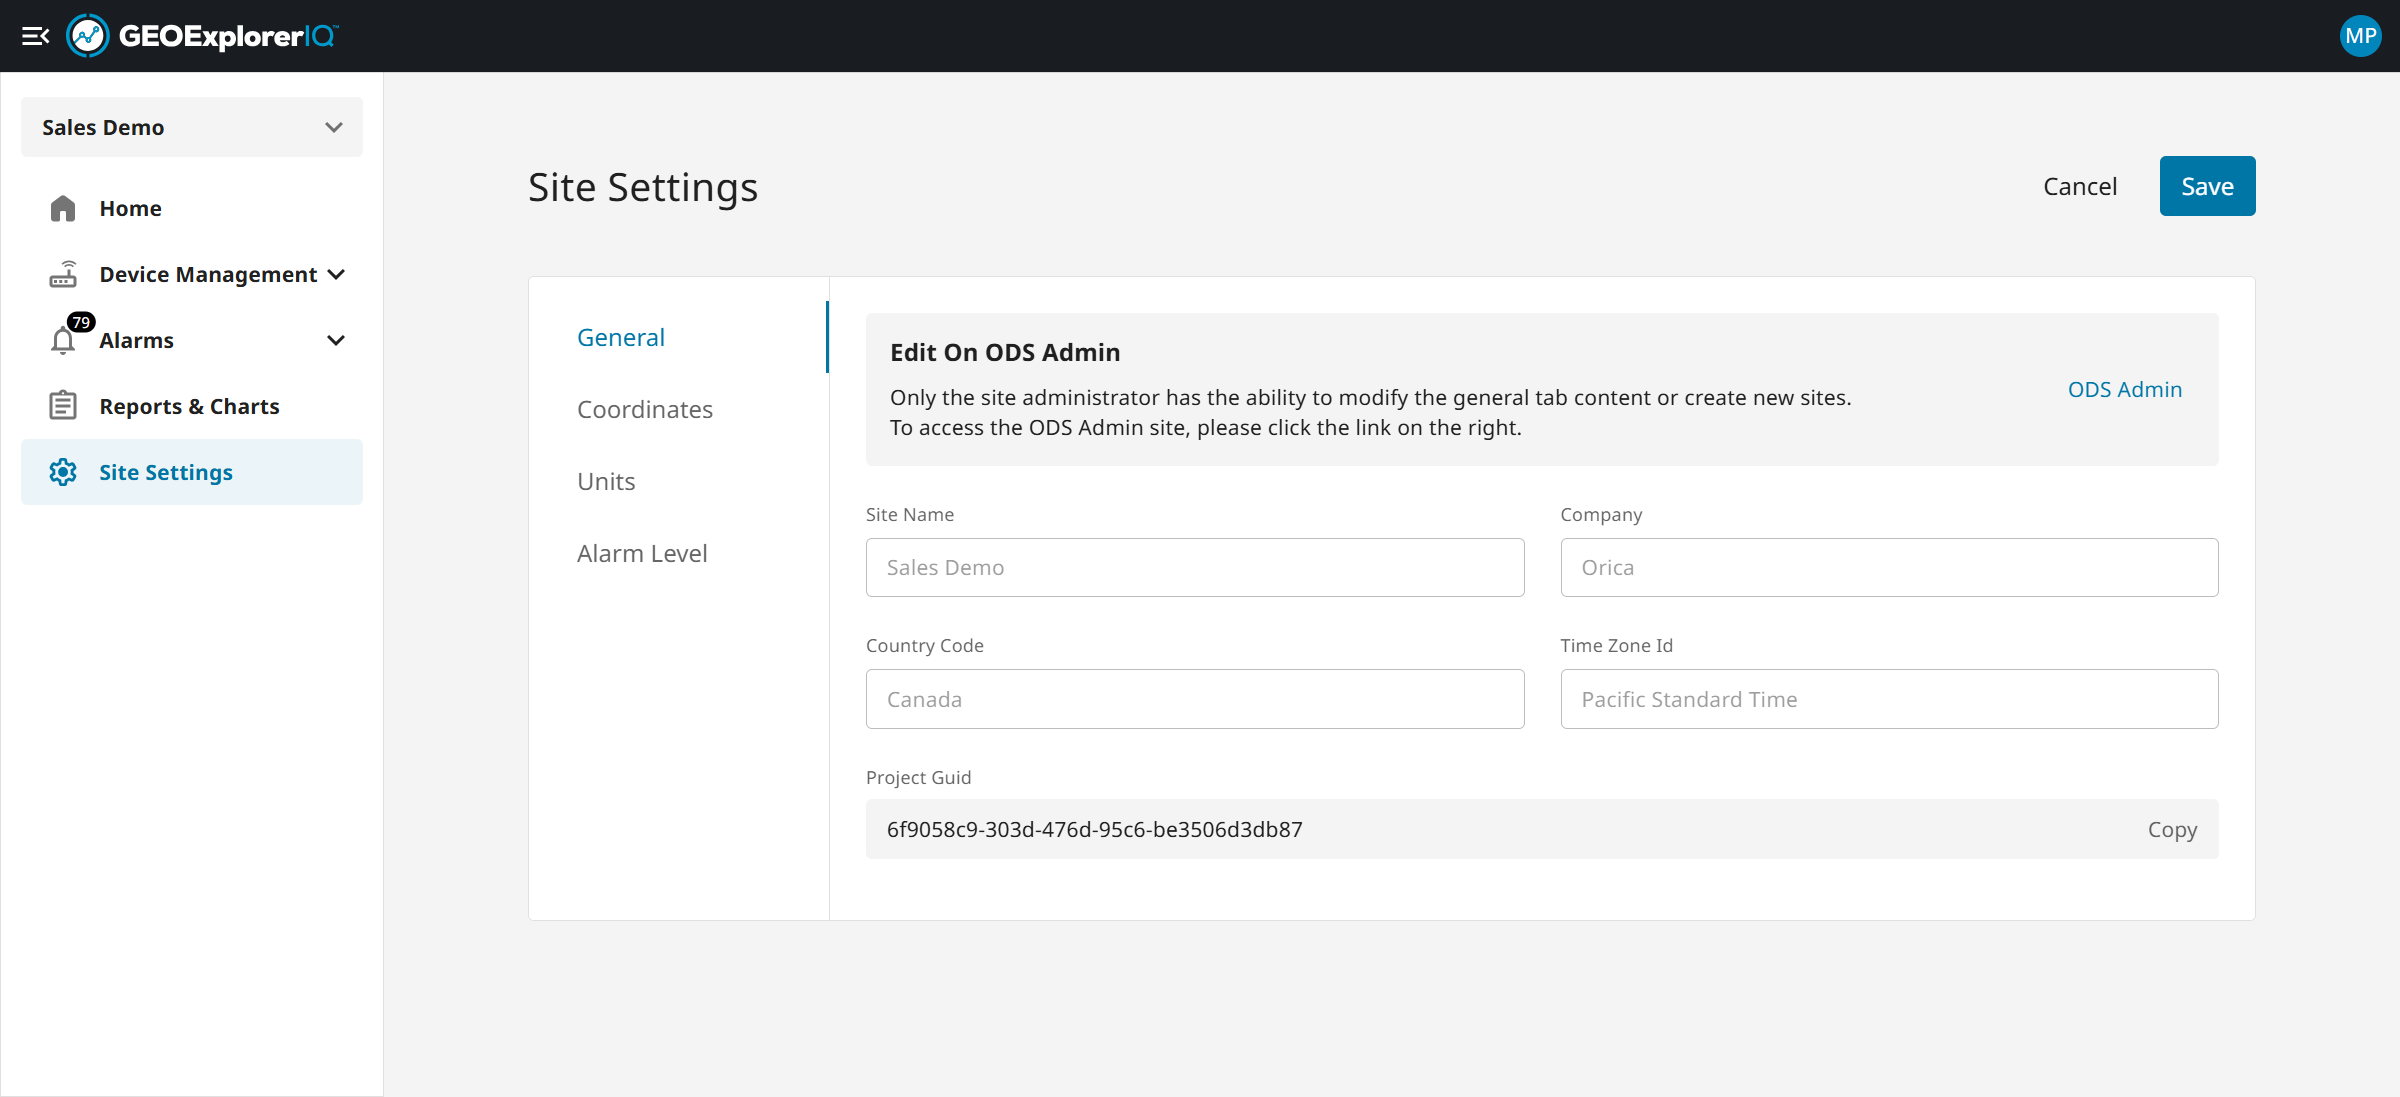
14. Site setting allows users to update alarm levels, units and coordiantes.
15. The top-right panel on the Home page lets you browse devices by type or explore sensors grouped by category.

16. The bottom-right section is device detail section where user can view all the data types of chosen device.